
Author: Ayush Shrestha
In this blog, you will learn about the various ways to make UI changes to the Dynamics 365 portal. This will help us see what kind of possibilities we have in terms of customising the look and feel of the portals to our personal liking.
Although there are a lot of ways around this, let us focus on three things that you can do to customize Dynamics 365 portals in this blog:
1. Changing the logo of the Header area
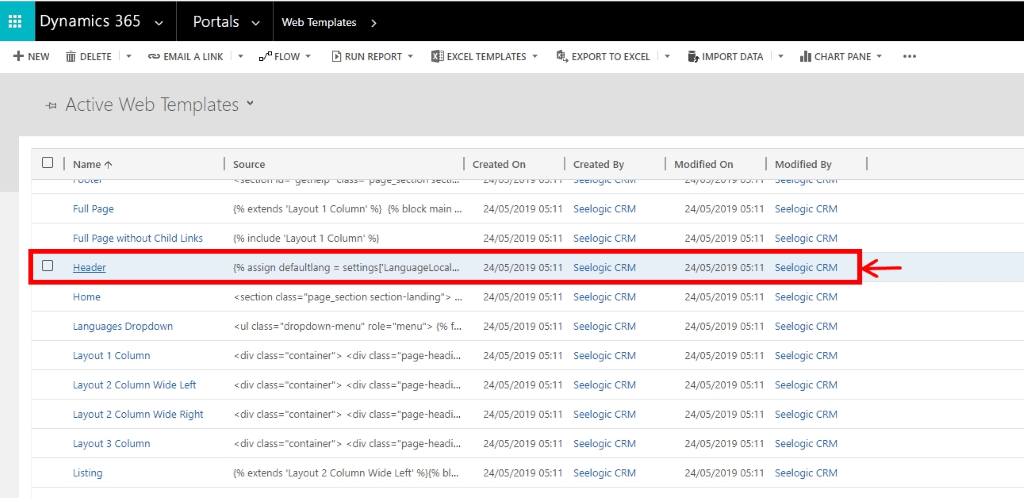
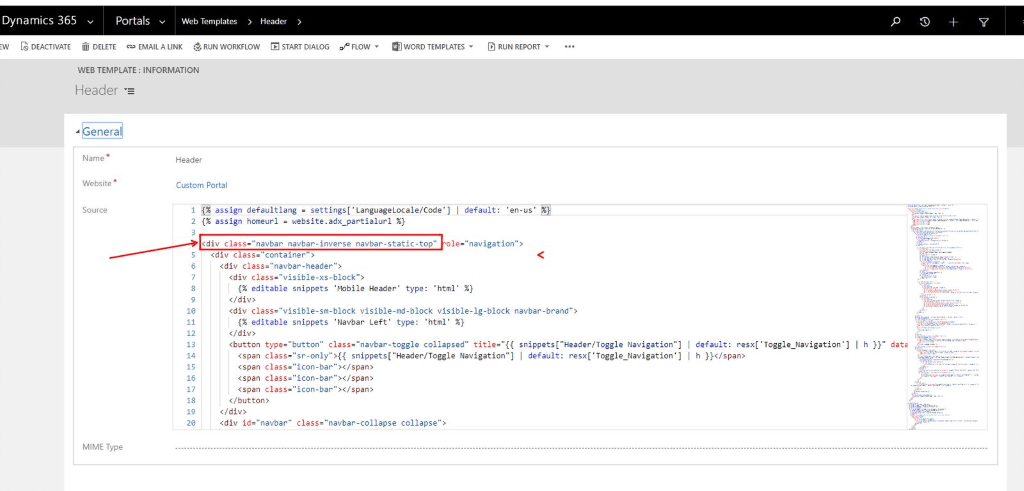
First, go to the Dynamics 365 portal section and select the ‘Web Template’ option as shown in screenshot below.

You can choose a Header web template for making the changes.
It is better to have some idea on the liquid source code of the portals to know how the logo is actually applied.
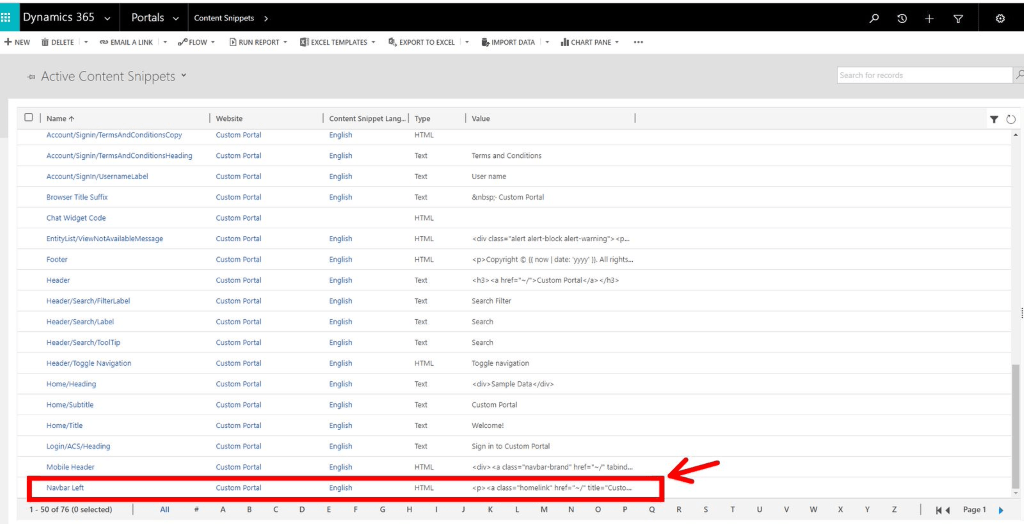
The snippet content in the header for the logo is called the navbar left.

To make changes, click the ‘content snippets’ area of the portal.
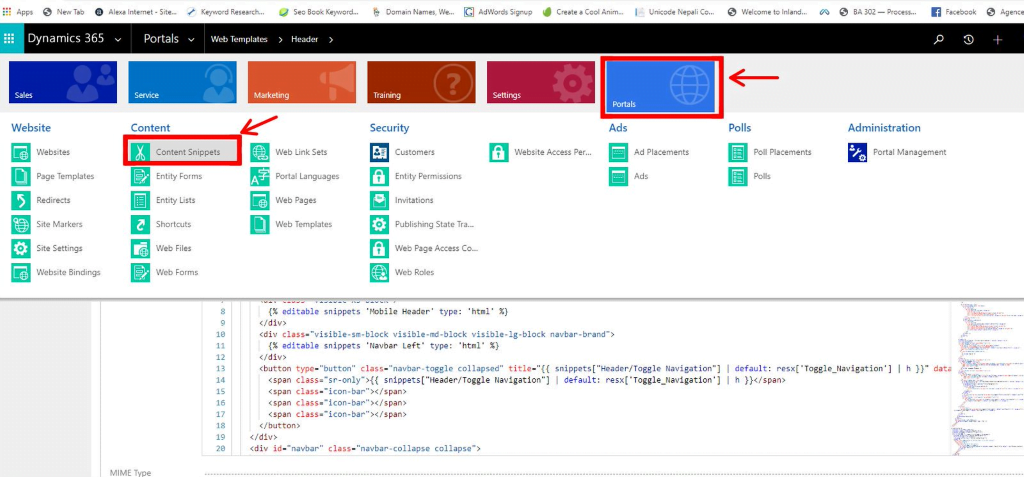
Here you need to find the navbar left and click on it.
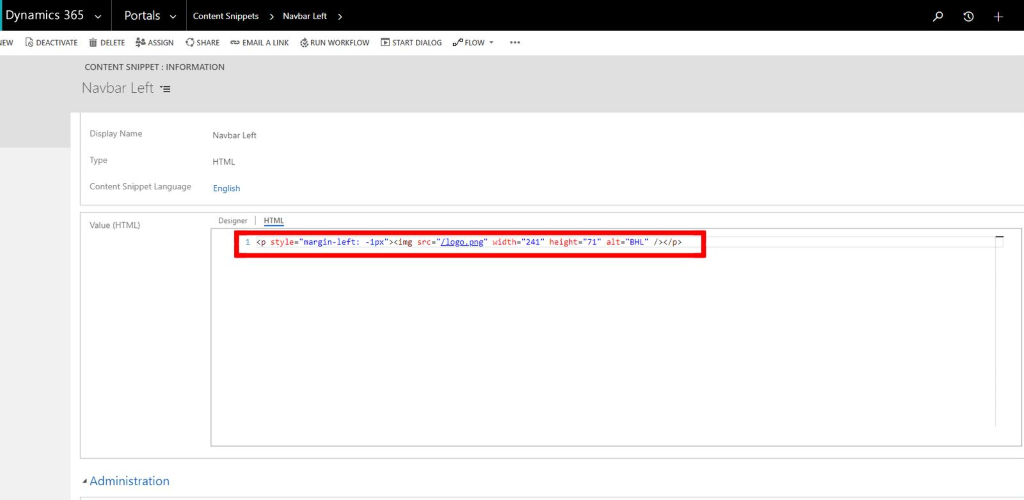
As shown in the screenshot below, here you need to look at the HTML code.
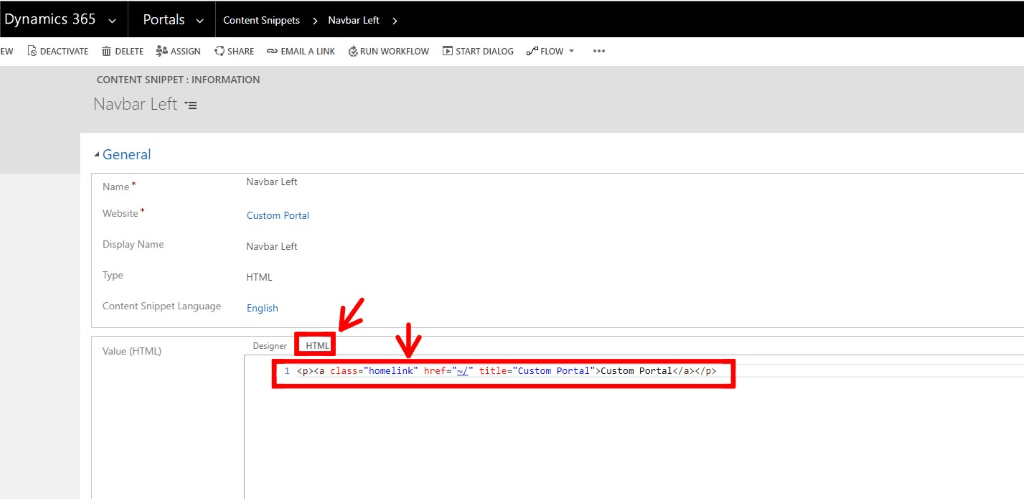
Now customise the image tag to place the image tag and save it as shown in the screenshot below.
<p style=”margin-left: -1px”><img src=”/logo.png” width=”241″ height=”71″ alt=”BHL” /></p>
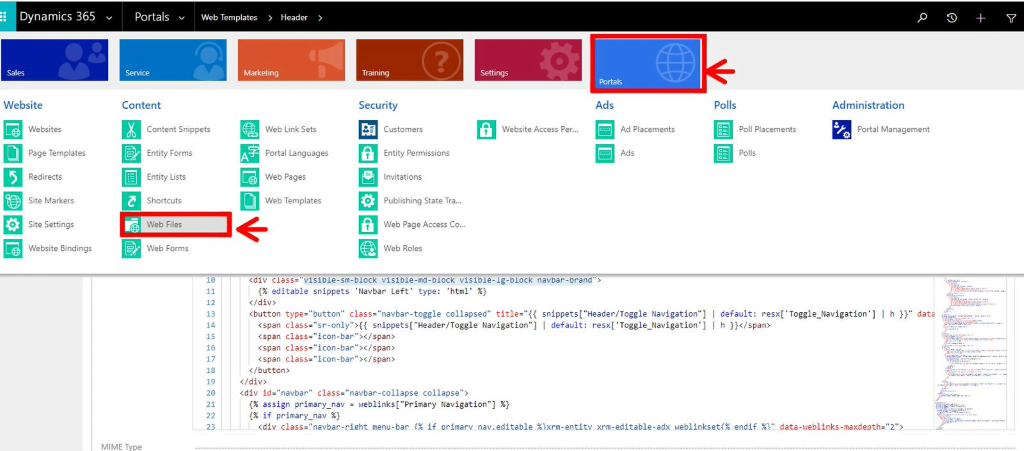
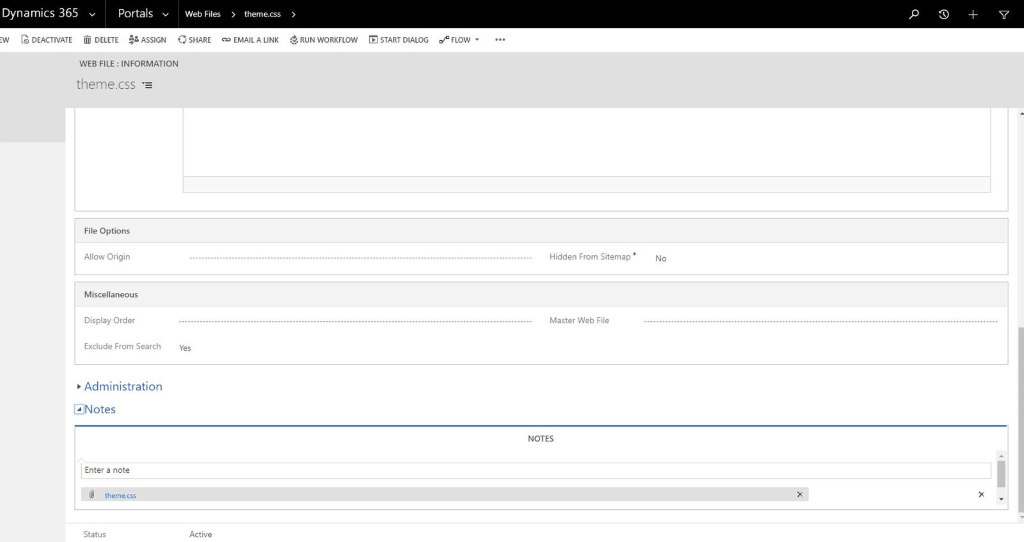
The next step is to add the logo as a new ‘web file’ to the portal. For this, you need to navigate to ‘Web Files’ as shown below:
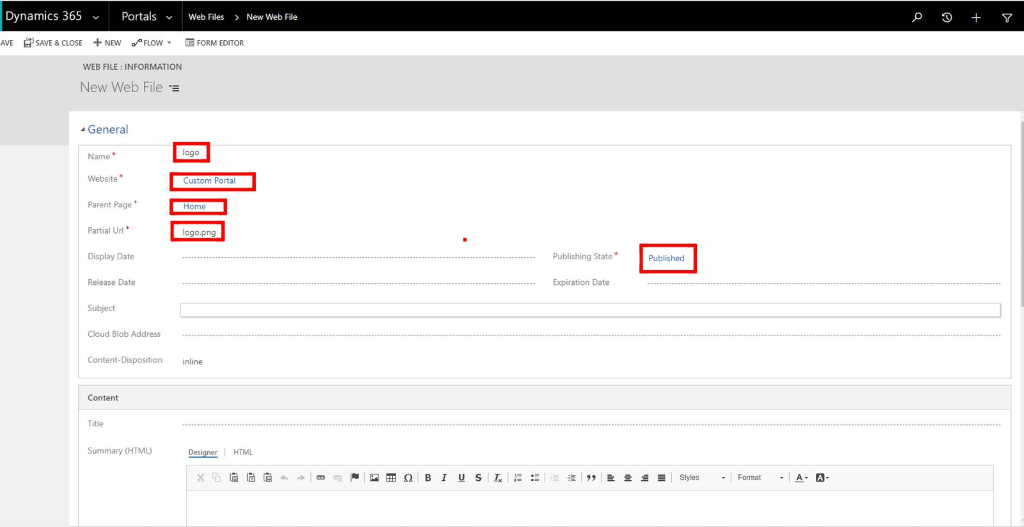
Then Add new web file with the value as shown in the screenshot below.
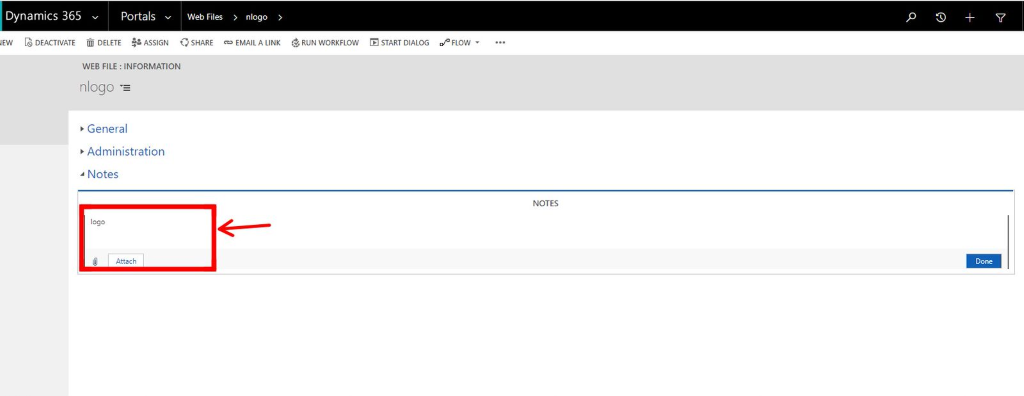
After saving it, enter the Title and upload the logo file in the Notes section.
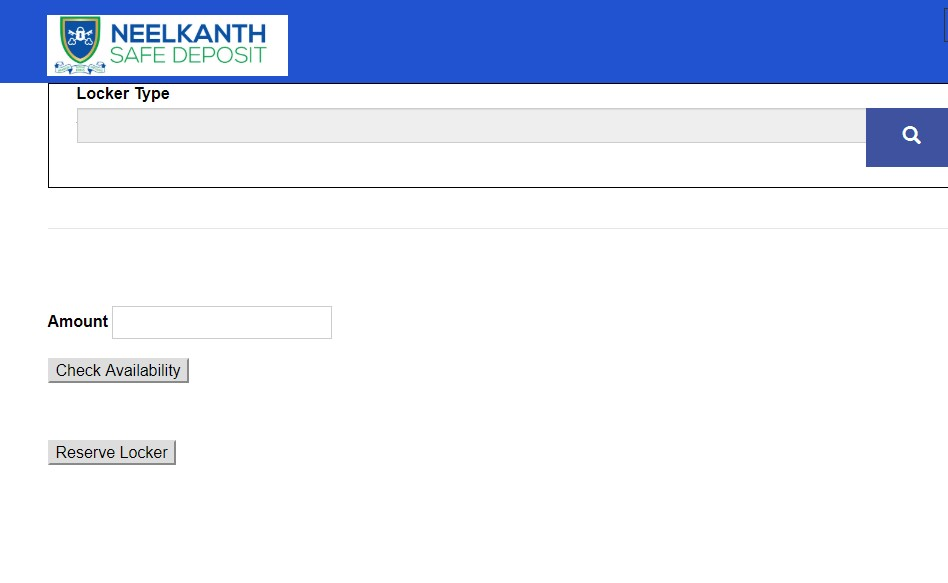
Now go to the portal where you can see the text in the logo area.
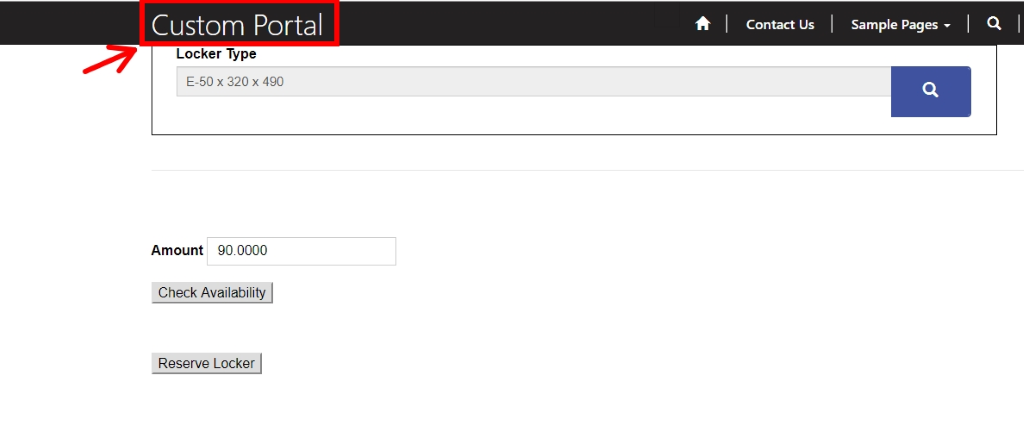
Now finally after refreshing the portal and you can see that the logo appears on the page.
2. To change the background color of the Header bar
Now in this part, you are going to change the color of the header bar at the top of the homepage.
For this, you need to modify the CSS file name theme.css that is used on this portal page. Make sure you keep a backup before making any changes.
Now go to the D365 portal, click web template, choose the header web template and check the content snippet. There you can find the div class navbar navbar-inverse navbar-static-top as shown below.
Let us check the class in theme.css file and place the new background color as shown in the screenshot below.
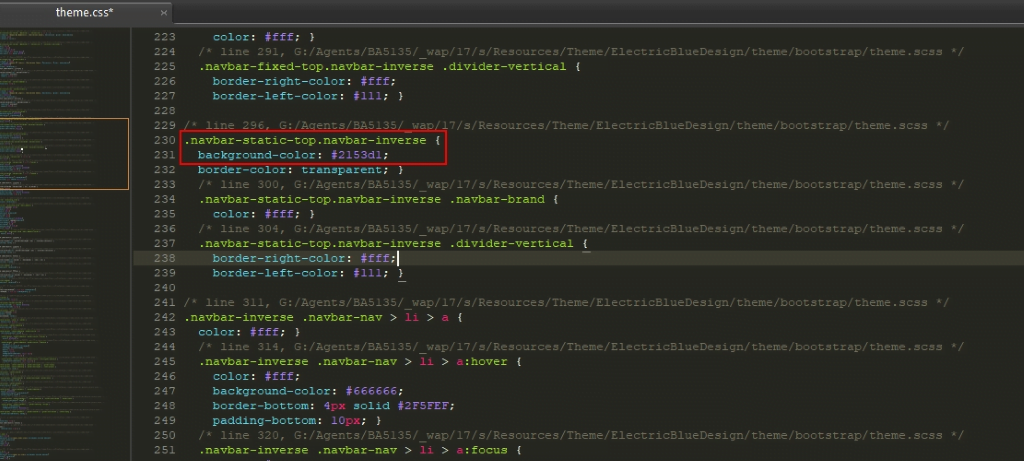
Let’s Save and Upload it as shown in the screenshot below:
Finally, after refreshing the browser we can see the new background color on the page.
3. To apply a custom bootstrap template into the portal page.
You need to be familiar with the bootstrap framework, as Dynamics 365 portal uses the bootstrap templates. Make sure to keep the backup before making any changes.
You can download any bootstrap template as per your choice.
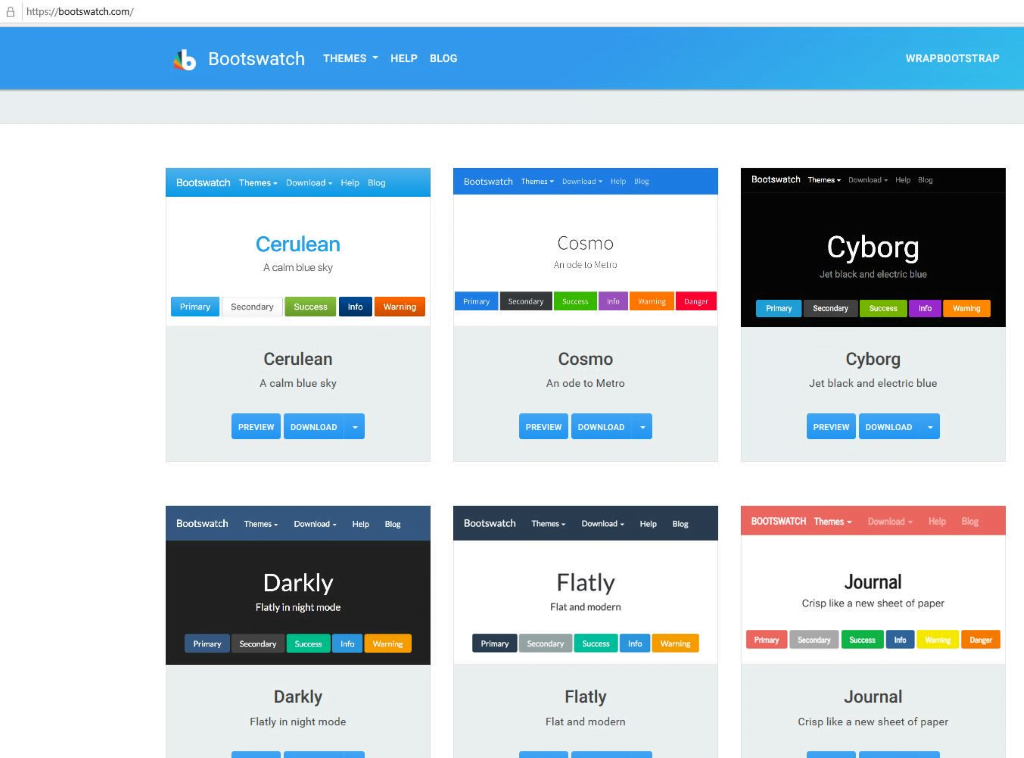
Open the bootstrap file and make the necessary changes as per the need as shown in the figure below.

Now let us upload the file bootstrap.min.css file to Portal, Web Files.
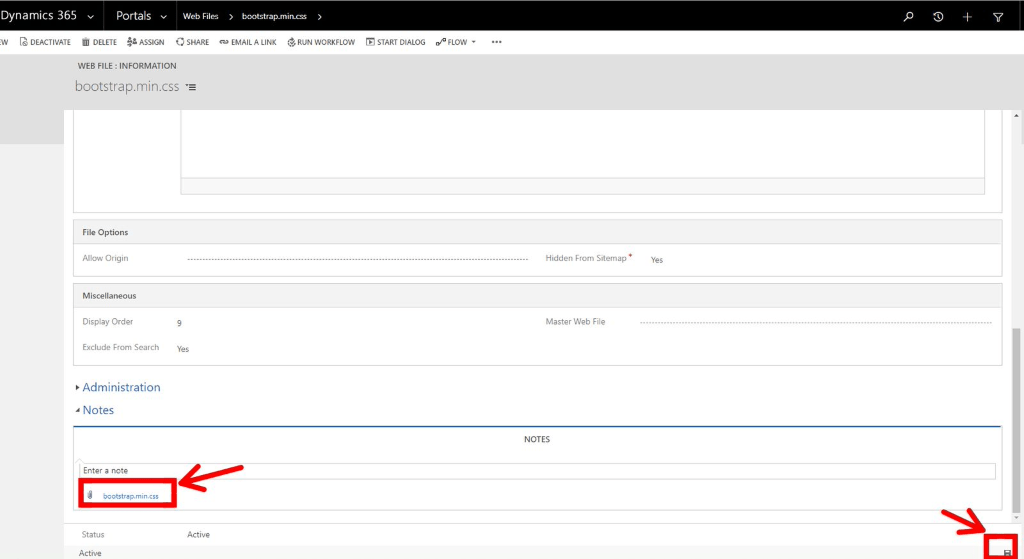
After refreshing the portal page, you can see the changes in the look and feel of the portal.
In these three ways, you can fine-tune the UI of the portal page of D365 portals.
If you have any questions or queries, just call our friendly team on 01296 328689 or drop us an email at info@dogmagroup.co.uk. Our team will be more than pleased to discuss these with you. Subscribe to our blogs to keep up to date with the latest technology and market trends.