
Author: Sandesh Wagle
Microsoft Dynamics 365 Business Central is a cloud-based, all-in-one business management solution which enables customers to upgrade from their entry-level accounting software or legacy ERP system to one single, comprehensive solution to manage finances, operations, sales and customer service. Business Central helps organizations streamline their processes, improve customer relations and enable growth.
To create a customer account in Business Central, let’s get started with the login process first. For logging into the Dynamics Business central you need to go through this process:
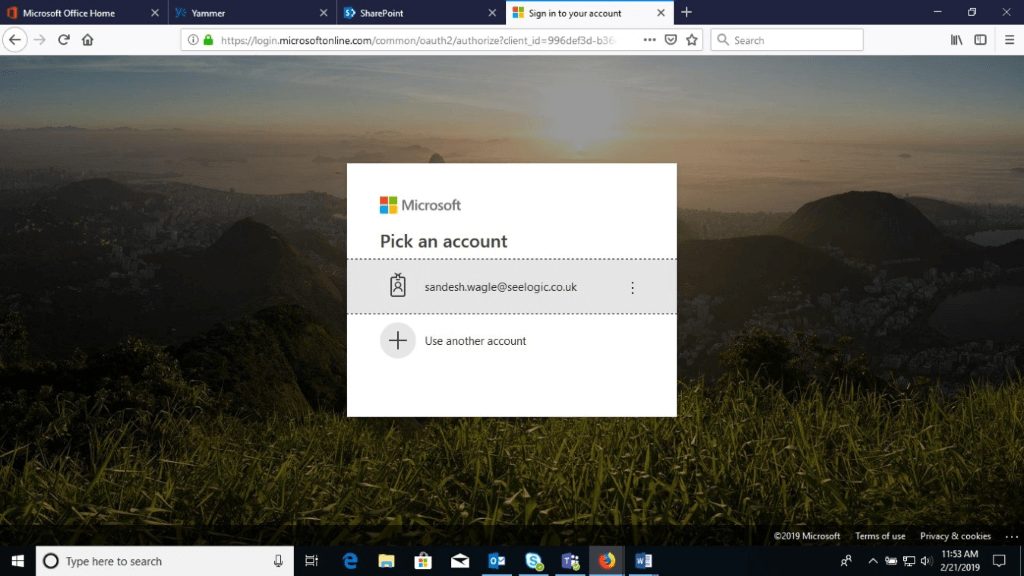
Type the given URL in your browser to login into Dynamics Business central: https://businesscentral.dynamics.com/sandbox
The following figure i.e. fig.1 will pop up and provide your business email id given by your organization and the password as well of the same account.
After logging in, you may or may not see the following window depending on your CRM setup.
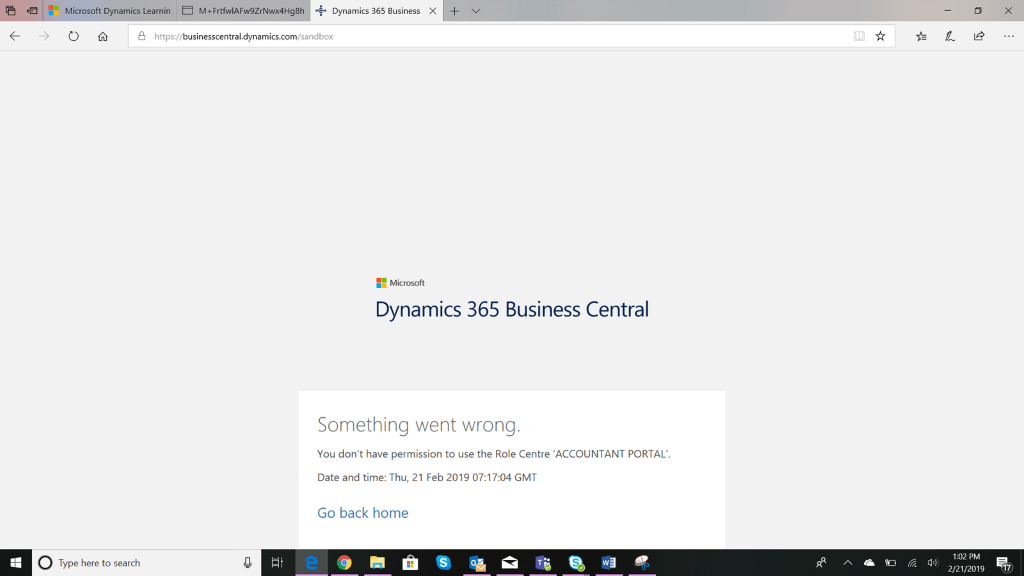
If the above error occurs, that is because you do not have access to the Dynamics 365 Business Central. Contact your administrator and request them to follow the below steps to change the Role Center from Dynamics 365.
- In the top right corner of your dynamics, choose the Settings icon, and then choose My Settings.
- On the My Settings page, in the Role Center field, select the Role Center that you want to set as the standard. For example, select Accountant.
- Choose the OK button.
After you follow the above process, you will receive the access and can log in into this page as shown in Fig:3
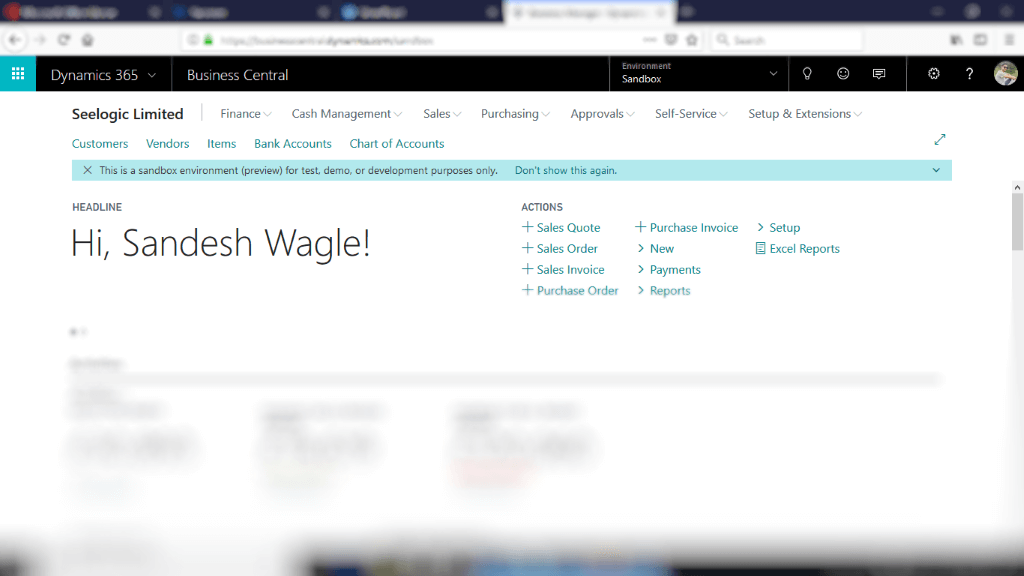
Dynamics Business Central provides an option to autosave which automatically saves your data if you go to the next field.
In the search field, you can search the customer by code as well as by Customer name or any of the entities you require.

Fig: Search icon
Creating Customer Account in Dynamics Business Central
To Create Customer Account:
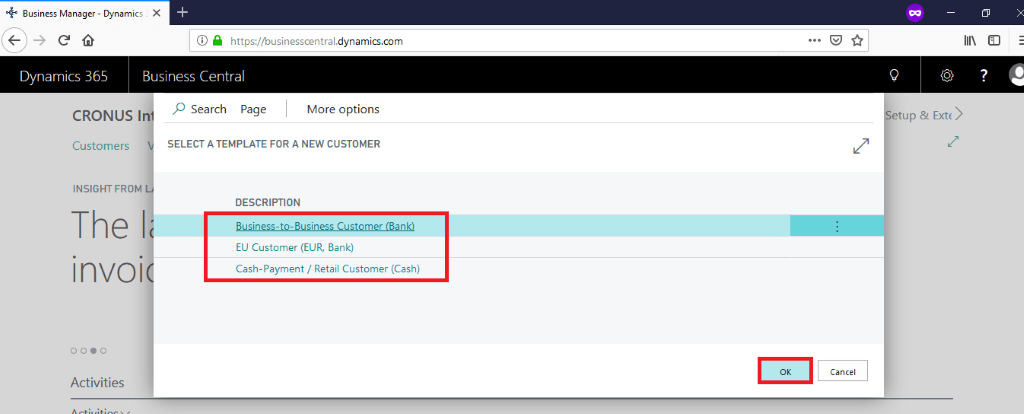
Go to Search>Customer (Register a new customer)> Select the item on Description
You will either need to search for “Customer” in the search box or you can operate it manually:
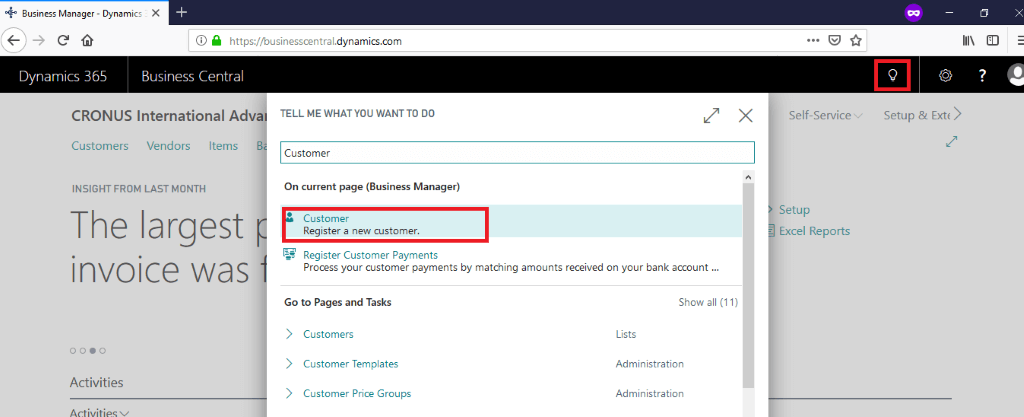
Click on the description according to the client and click OK as shown in the figure below. (Whether the client pays in cash, through bank transfer or the customer is from abroad)
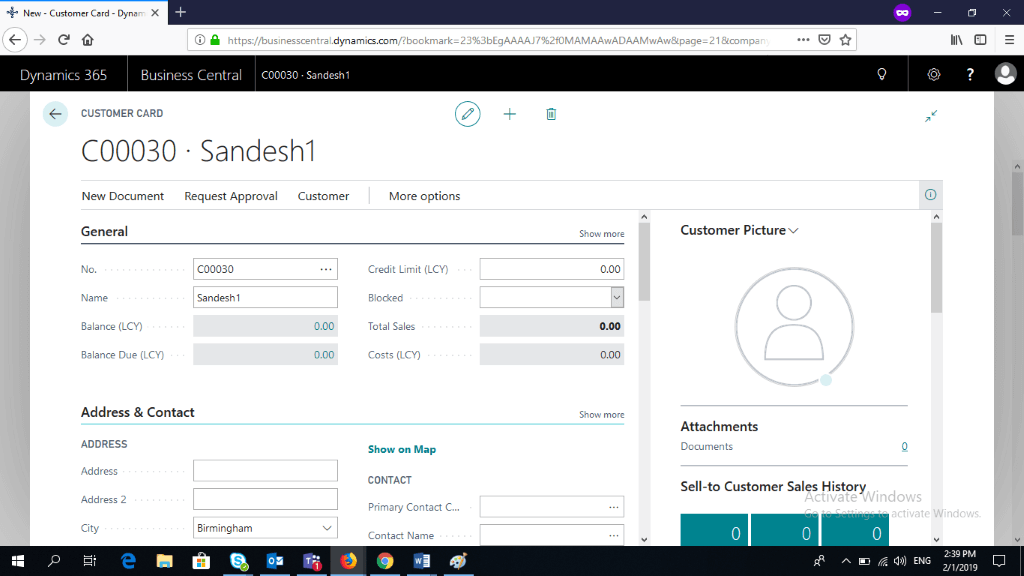
Then the above-shown dialog box will appear. You need to fill the field as shown above in Fig:6. After you go to the new field (or use TAB), the previous data in the previous field is saved automatically.
Show less: It will display lesser data.
Show more: It will display more data.
In General:
No.: It is an automatically generated code, so you can keep this field empty.
Name: Provide your Customer name.
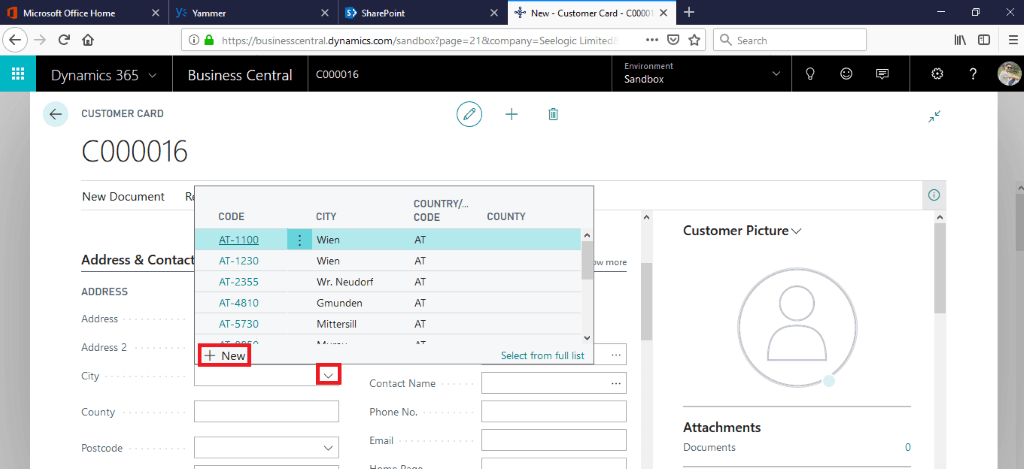
In Address and Contact:
City: Need to select from the drop-down list. If the city you are searching for is not mentioned on that list, then you can create it. After you click on the drop-down button there will be a New option as shown in Fig.7. Click on it and add it manually.
Country: Enter data in this field according to the customer’s profile.
Others are generated automatically after you provide the city and country.
In Invoicing:
Bill-to-customer: If you are dealing with the customer but the customer wants the bill in the company’s name, then you need to fill that data in this field. If the company or any person is not included in your list, then you need to add that customer as well. Click on the drop-down button>New, then fill the field according to the procedure previously followed above.
Shipping:
Here, add the details of the customer’s place where you must place his order.
Also, you fill the shipment method i.e. how the products will be delivered.
In this way, you will be able to create an account in Microsoft Dynamics Business Central 365.
If you would like to take advantage of the latest updates of Business Central within your organisation, Contact us today for a no-obligation consultation on 01296 328 689. Or email us at info@dogmagroup.co.uk.